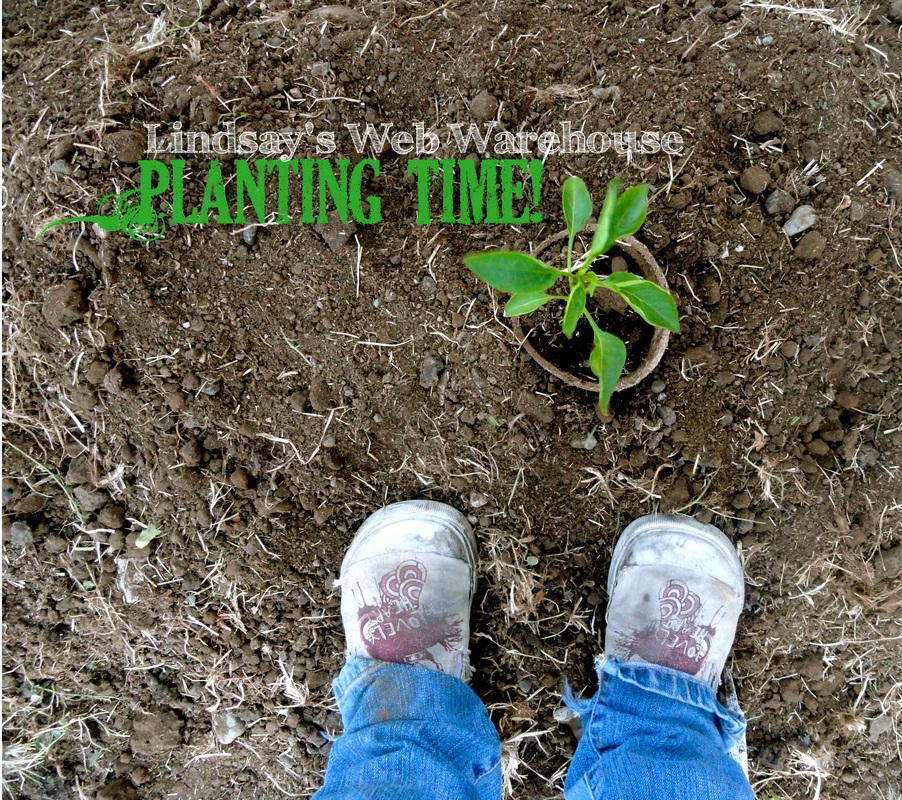
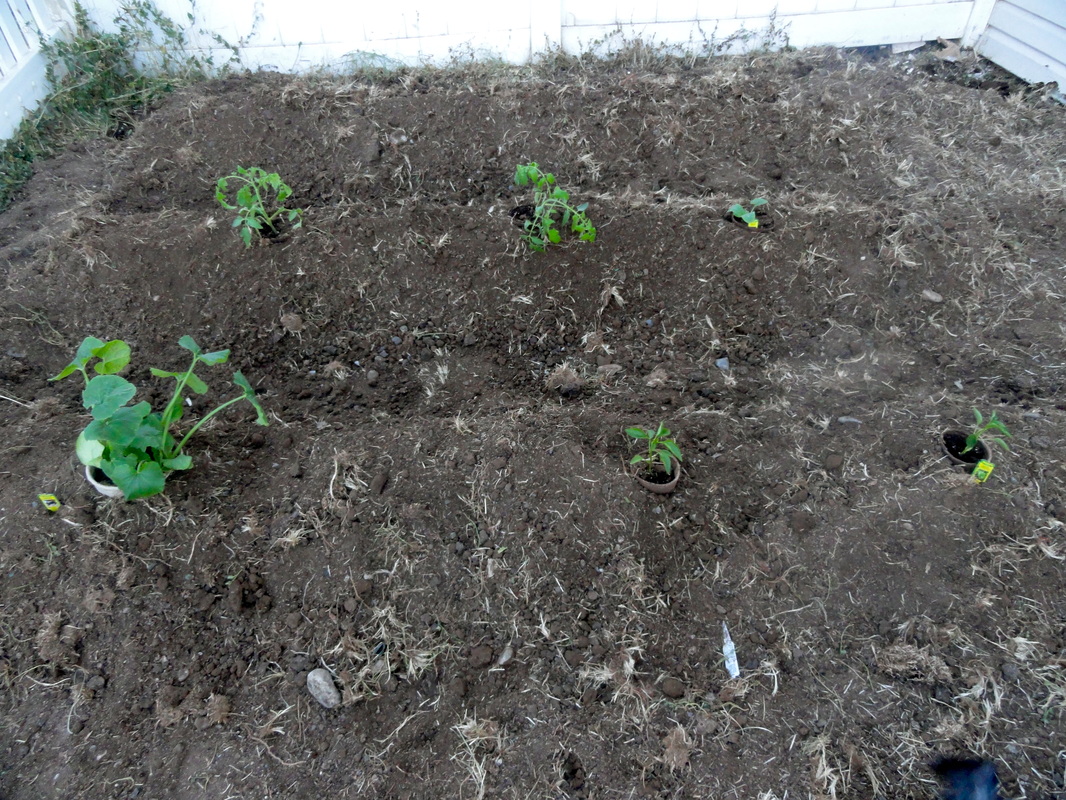
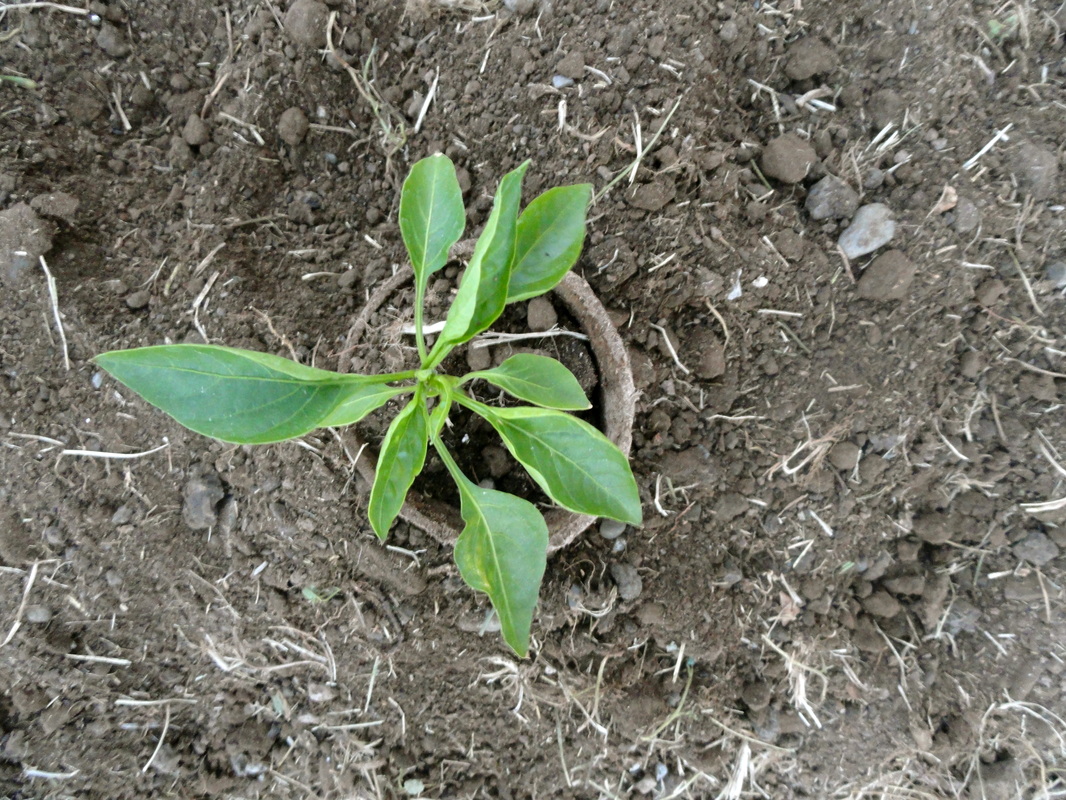
| So we are a little late planting this year... but I couldn't give up the chance to have our first garden. I doesn't look very pretty but it works. Fingers crossed we actually get plants! Jake's dad was really helpful and brought the tiller over and we dug up a small patch on the side of the house. I raked 3 rows. We thought we would go simple because its so late in the planting season. I picked out 2 green bell pepper, 1 zucchini, 1 squash and 2 tomato plants at Walmart. I might grab more later for my back row. I also bought a rake and 4 small flowers (for my front planters). The total was just over $40. Not bad. |
0 Comments
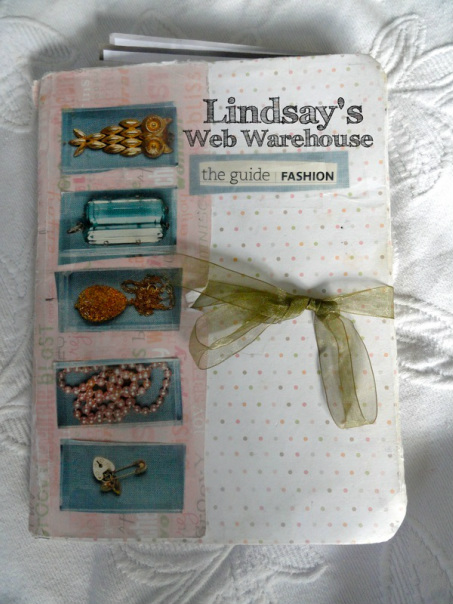
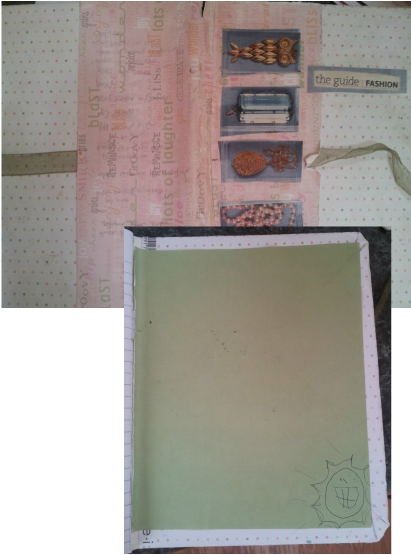
I decided I needed to share my fashion inspiration notebook today. I have had quite a few friends comment on what a great idea it is. Basically I have compiled my favorite outfits, hair, jewelry etc in this cute little notebook. This is before I had heard of Pinterest (its very similar by having your inspiration assembled) but I actually like it better, call me old school. Below I have a slideshow of a couple of the pages in my book. I have a combination of magazine print outs, sketches and print outs. Here is how you make your own notebook... What you'll need: 1 Composition notebook Tacky glue 2 8"x11" matching scrapbooking or design paper sheets [cover & back] 1 8"x11" different scrapbooking or design paper sheet [binding] 2 8"x11" matching solid colored paper sheets [inside covers] 2' of ribbon Start by gluing your 2 matching scrapbooking paper sheets to your front cover and back cover. Make sure the paper is centered, fold over any excess paper to your inside cover and glue. On my notebook theses papers are multicolored polka dots [see below right].
|

 RSS Feed