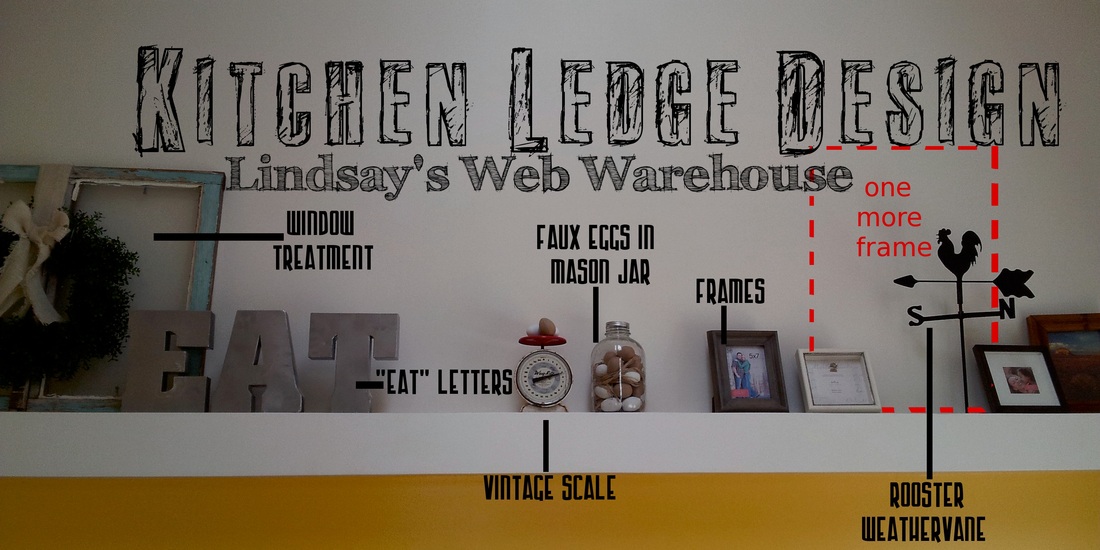
I am almost done with my Kitchen ledge design, I just need one more frame! DI here I come...
So far I have
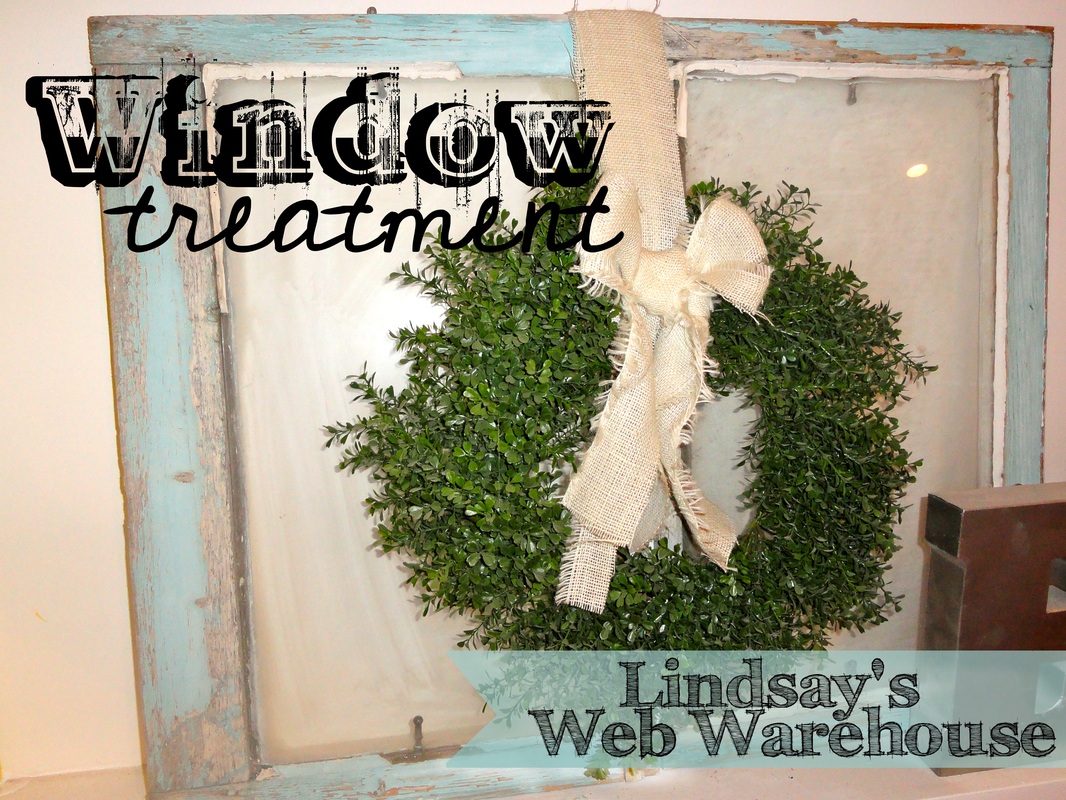
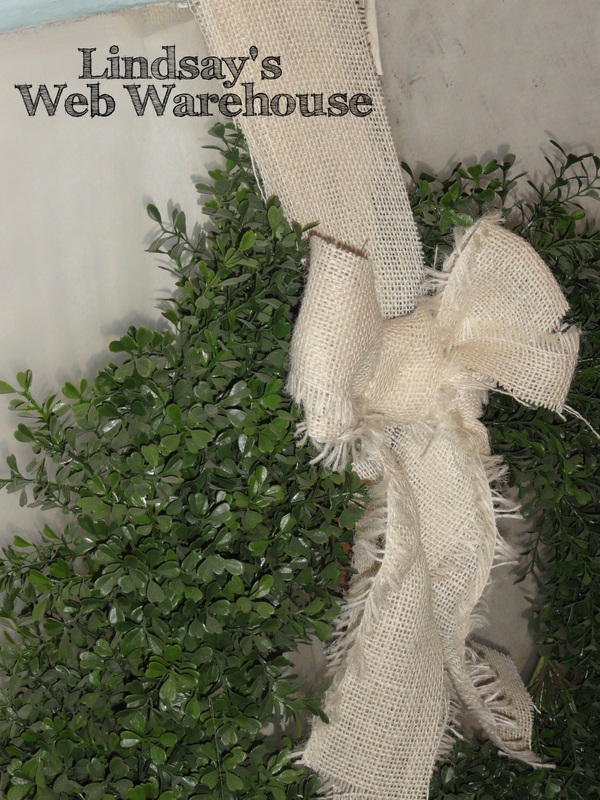
1. Window Treatment which you can reference from a previous post
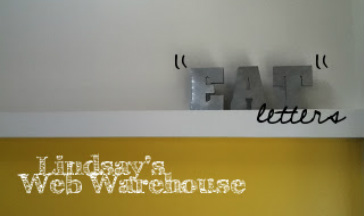
2. "Eat" letters, also in previous post
3. Vintage scale; purchased from Etsy for around $25.00
4. Faux Eggs in Mason Jar; Mason Jar was .50c at a yardsale & faux eggs purchased Hobby Lobby (around $10.00)
5. Frames; some from DI, one was a gift from my mom and Hobby Lobby.
6. Rooster Weathervane; purchased on Amazon for around $20.00
So excited for my final frame.
I am going to back it with chicken wire and hang my wedding bouquet from it or photos etc.
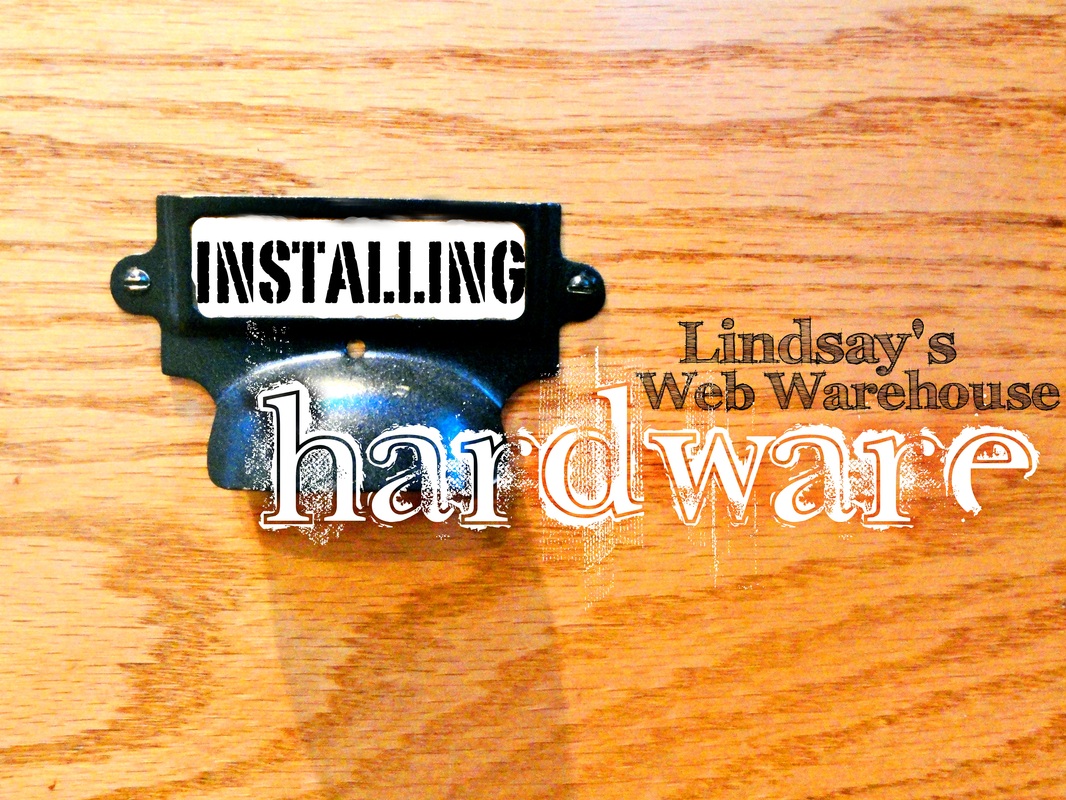
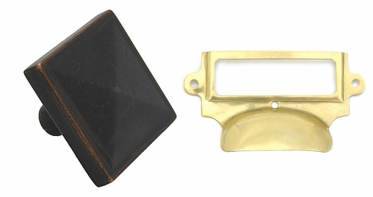
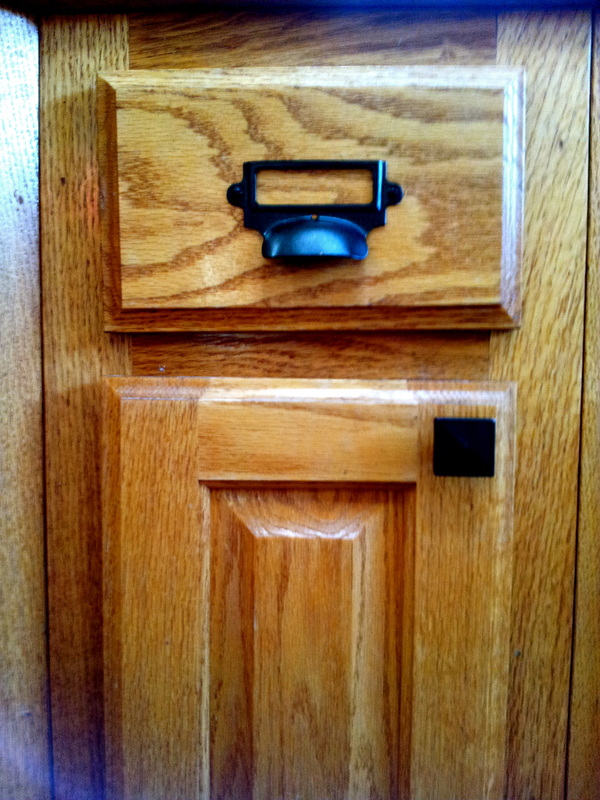
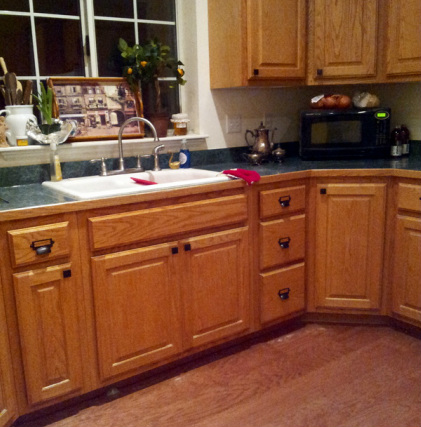
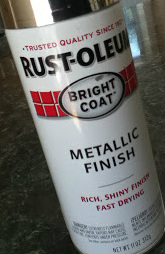
| | I decided I wanted a kitchen upgrade. Obviously, new cabinets are really expensive so I decided to start small by adding hardware! What you'll need: Drill Philips head driver bit Drill bit [same width as your hardware's screw] Hareware I chose these two different types of hardware [left] The pyramid knobs I got from Overstock. They came in a pack of 20 for $25.00 The label pulls I got from Van Dyke's Restorers. They were cheaper in chrome [$3.49] so I also bought Rustoleum Oil Rubbed Bronze Spray-paint [$6.00] |
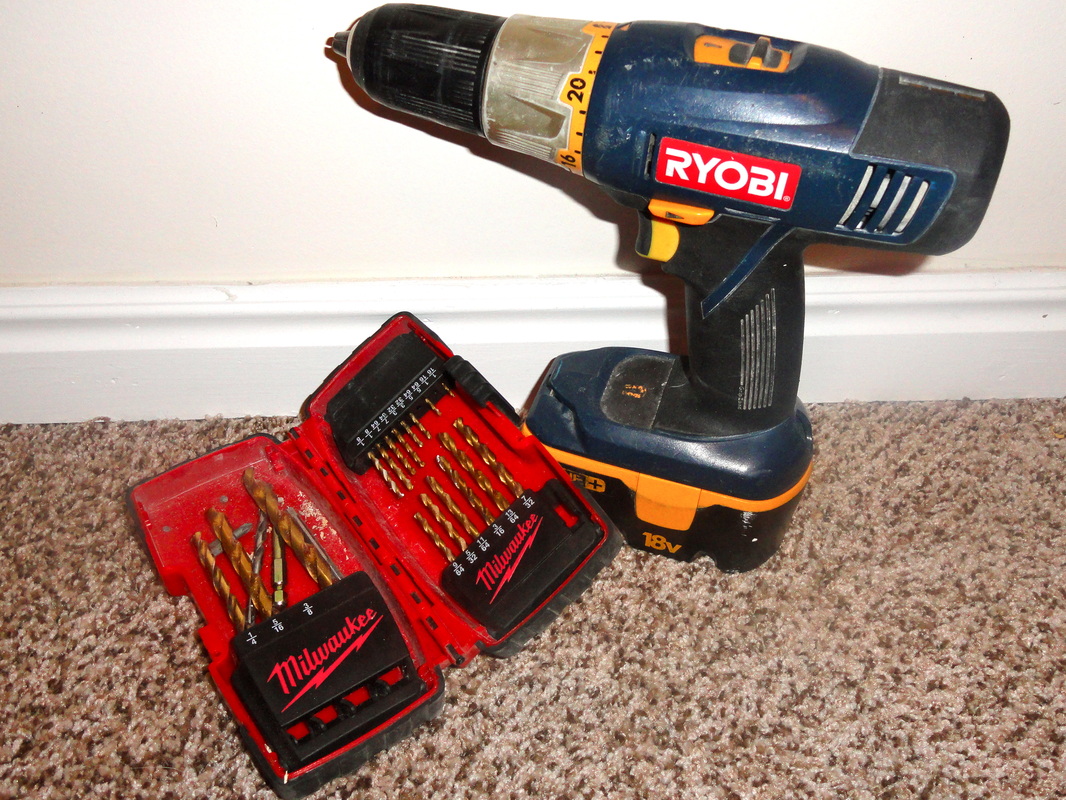
Start by marking where your hardware will go. I used a level for my label pull hardware to make sure it was straight and a ruler to make sure it was centered.
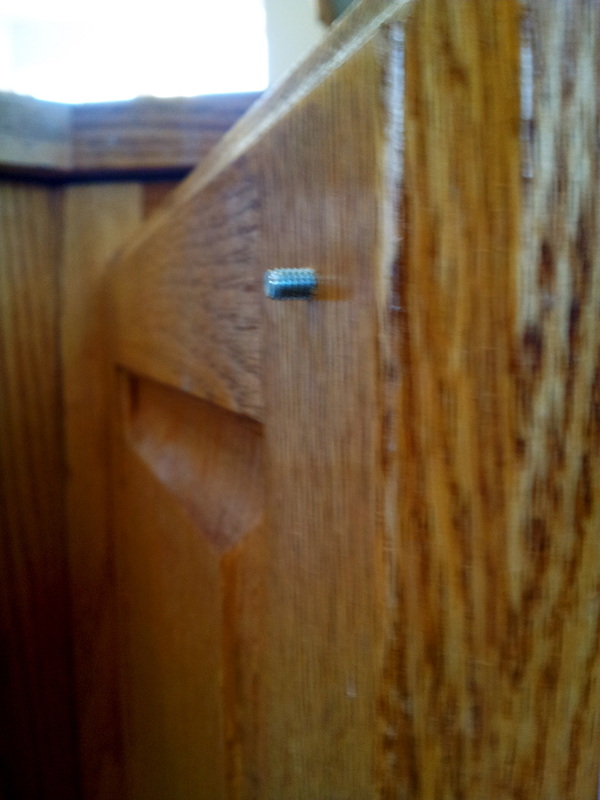
Find a drill bit that is the same, or close, to the thickness of your hardware screws. Put your drill bit tightly in your drill. The pyramid knobs needed a hole that went all the way through the cabinet doors.
Jake's drill has a level on it so I was able to easily drill a level hole. Very important. You don't want your hardware going in on an angle. I got a little tired and I have two interesting looking knobs.
Put the drill bit in and out of the hole a couple of times after you make it through so that the screw is able to go through relatively easy. I tried putting my screw through after just drilling through once and pulling it out and it was a PAIN!
You still want some resistance but you should be able to screw it in without working up a sweat and stripping your screws. You don't want to strip your screws!
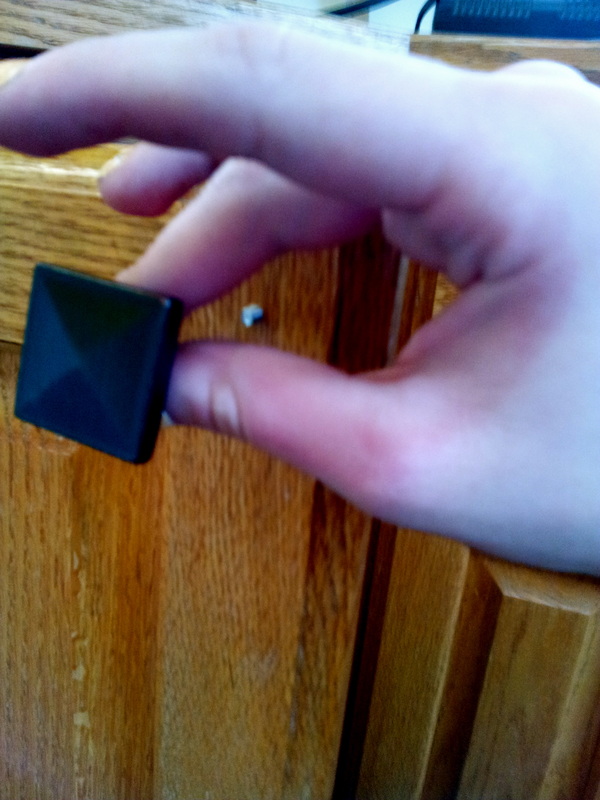
For my knobs I drilled the screw in from the back of the cabinet, with my philips head driver bit [top left image]. I screwed my knob right onto the exposed screw on the front [top middle image]. Easy.
My label pull hardware did not need the hole to go all the way through drawer. I used a smaller drill bit since I had much smaller screws. I only drilled far enough into the drawer to the screw to be completely in the drawer. I put my screws in by hand because the screws were too small for my driver bit and they called for a flat head.
Now I just need to get some cute labels in those pulls!


 RSS Feed