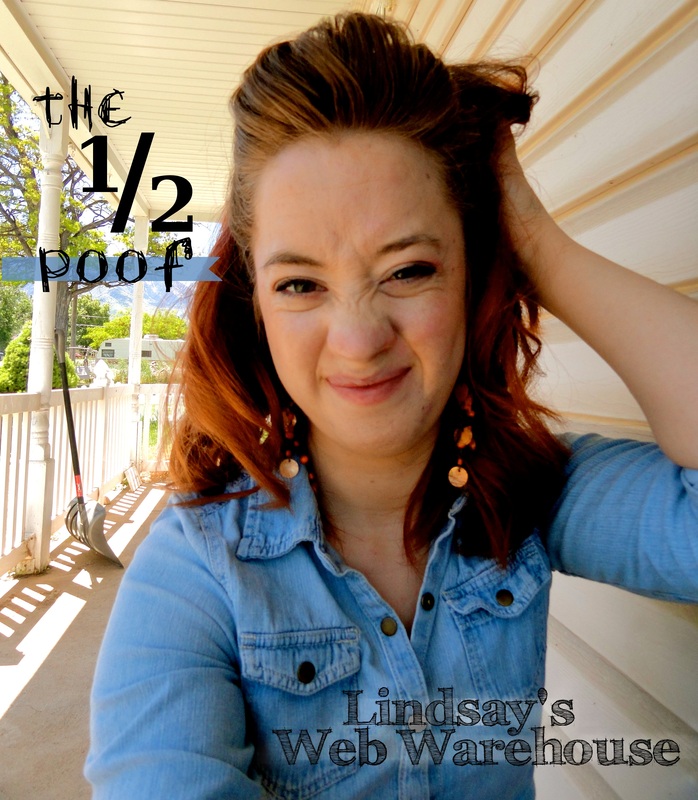
| I realized while typing the title to the post that it sounds too much like pin-up girls. Whoops! Too late, already edited my photo. This pin-up is for pinning up the sides of your hair to mimic a half up hair style. I first loosely curled my entire head. Then I pulled back the sides of my hair, one at a time, and bobby pinned into place. | 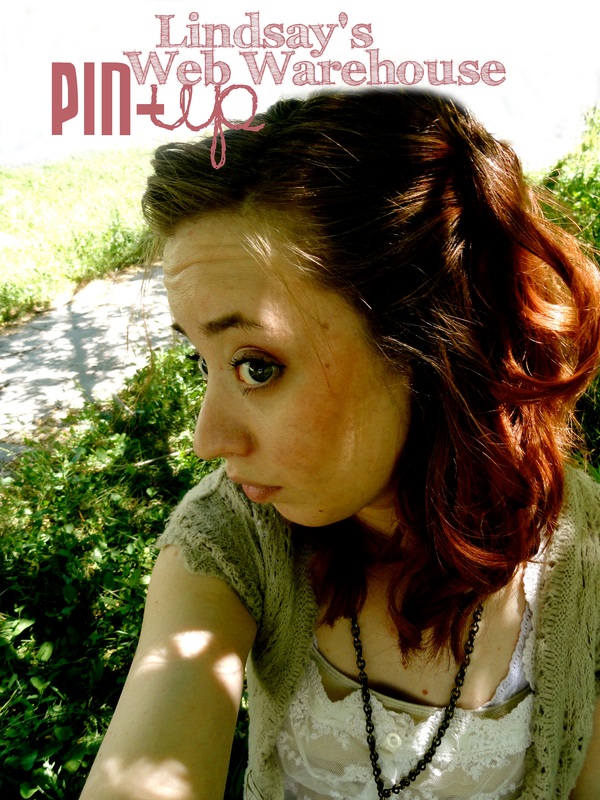
|
0 Comments
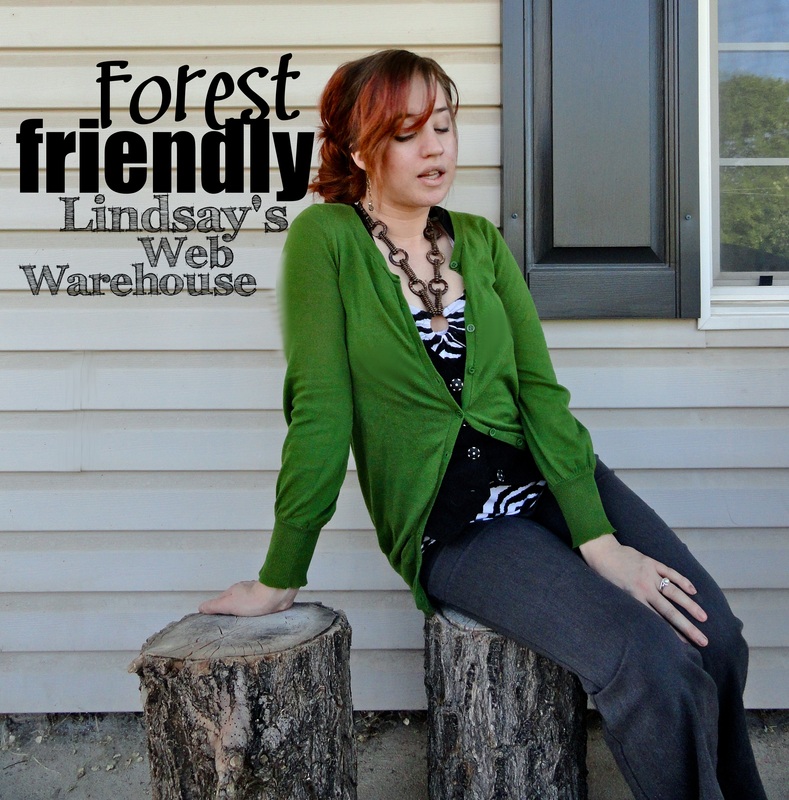
I was feeling "green" for work today. But seriously, I love green...and I love cardigans. I got this extra long one a couple years ago.
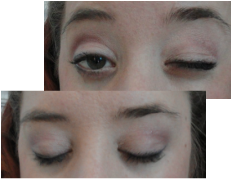
Today I paired it with my black vest, zebra halter and grey slacks. I used gold tones for my eye shadow and similar bronzer on my cheeks. For my hair I formed a low messy bum on the right side of my head. Whenever I have an updo I try to take advantage and wear dangly earrings! Today I wore my gold chain ones.
This is a flash back to one of Bri (my best friend) and my first videos. We make music videos all the time just for fun. Its a blast!
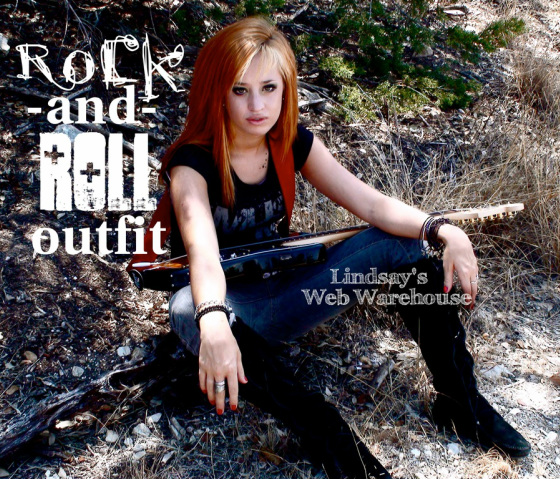
I decided to post this picture because I'm wearing my favorite rocker accessory; my black moccasin boots. I paired them with a black band tee, some cool jeans and lots of bangles. I also had some much fun hair that summer as well. I bleached my hair line, forehead to nap of neck. I looked even cooler pulled up. It was a lot of up-keep though!
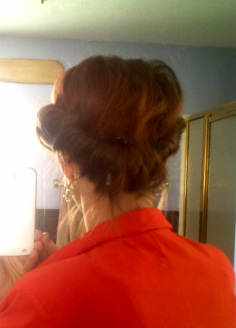
 I love the way this bun is so messy and unkept but still out of your way. Perfect.
Heres how to do it. 1. Make a low ponytail. 2. Grab a small, finger sized piece of hair from the top of your pony. Loop it up, over and under your hair tie. 3. Continue to take small pieces and tucking them similarly back into your hair tie. Do this until you have all/almost all of your hair back into a "bun." You can make this look as messy or as neat as you want. When my hair is longer I can make it look really neat for a more formal style.  I was finally brave enough to try a middle part this weekend.
I've decided I have become too attached to my left side part and that it was time to go outside the comfort zone. I think all of us have that "beauty comfort zone" in which we operate and are afraid to try things that may seem a little too strange for us. Break it. It took some getting used to but I had a lot of fun with my middle part today! I decided to mimic a "blow out" and loosely curl my hair. Changing my part actually gave me more volume. I'll take it! As promised, my "curling with your straightener" tutorial... 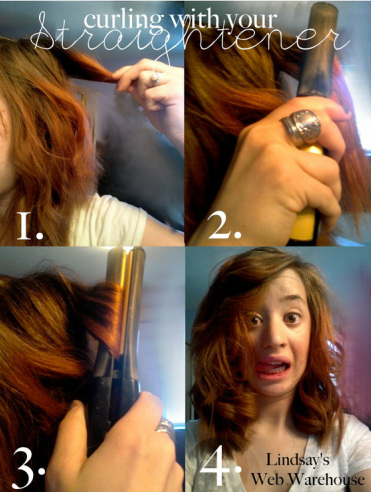
1. You'll want to use relatively small pieces of hair to allow the heat of the straightener work its way through.
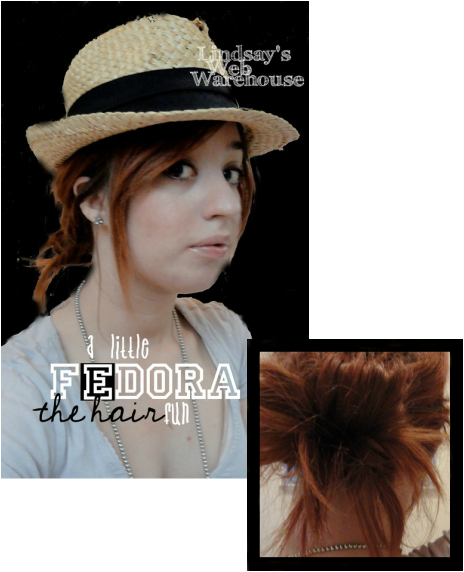
Also if you feeling overwhelmed with hair everywhere, tie up the sections of your hair you are not currently working with. Much better, no? 2. Get your straightener on that baby, start as close to your scalp as your comfortable with. Don't burn yourself! Again, little pieces at a time. 3. Turn your straightener to a bend & slowly pull away from your scalp to your tips. 4. Continue until you've got a luscious head of curls to your liking. Notes: Depending on the angle you hold the straighter will depend on how loose/tight curls you have. The angle I chose here gave me pretty loose curls [figure 4] If you want really tight curls you will want you straightener to be parallel with the floor. In the same respect if you want really loose beachy waves you will almost want your straightener vertical. You can also choose to bend your straightener towards your mirror or away; This will determine the way your curl goes. 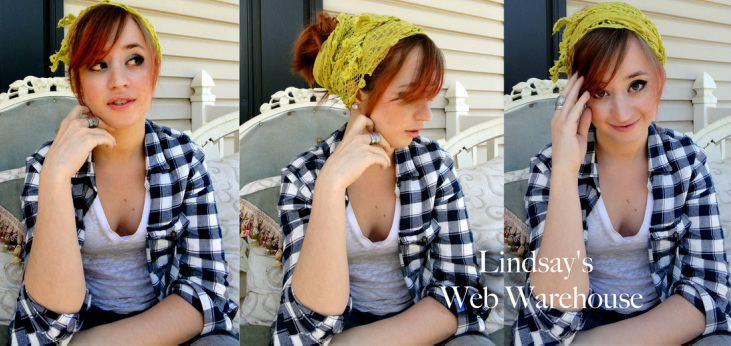 If you want a easy updo use a silk scarf! I'm in love.
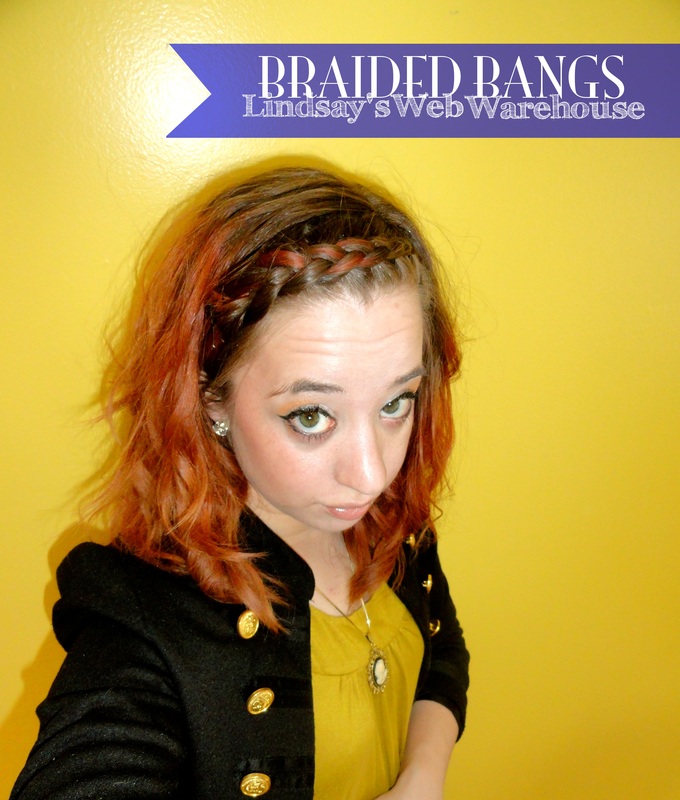
You can pretty much tie it any way you want. I found several tutorials online. I chose to wing it! I started by finding the middle of my scarf and laying it on the top of my head. I then took the two ends, that were hanging down on each side of my head, and crossed them under my hair line by the nape of my neck. I went back and forth crossing at the top of my head and my neck line until I ran out of scarf. You can see in the pictures [above] that I just tied it off on the side of my head, leaving some cute loose ends. If you have bangs you can also tuck them in to keep them out of your face and it still looks great! 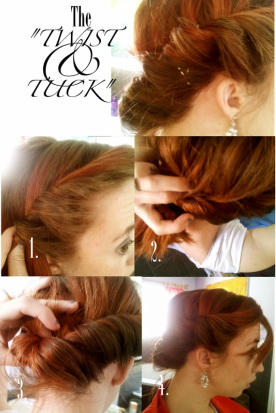 1. Start by creating a part at the top of your head; begin to twist, one side at a time, your hair up and under. See figure 1. *When you get done with the first side you going to want to tie it tight with a ponytail until you get the other side done or it will just fall right out. 2. Gather your two twists into one low set ponytail. You may need to pull your "twist" a little tighter before you tie it off. Next put a finger or two through the top of your pony, between your ponytail and your scalp making a hole. You will be pulling your left and right twist out a little to create this hole. See figure 2. 2. Flip your ponytail up and push through the whole you created. See figure 3. Now bobby pin the crap out of that sucker! I usually put a couple in my twists on both sides to keep them tight and where I want. I also throw a couple to secure my hair that a pushed through so that it doesn't come out during the day.
| Beauty & FashionI like to myself as a mix between artsy & punk. I also work at a bank so you can find professional savy ideas as well. Happy browsing! ArchivesCategoriesAll 
|

 RSS Feed