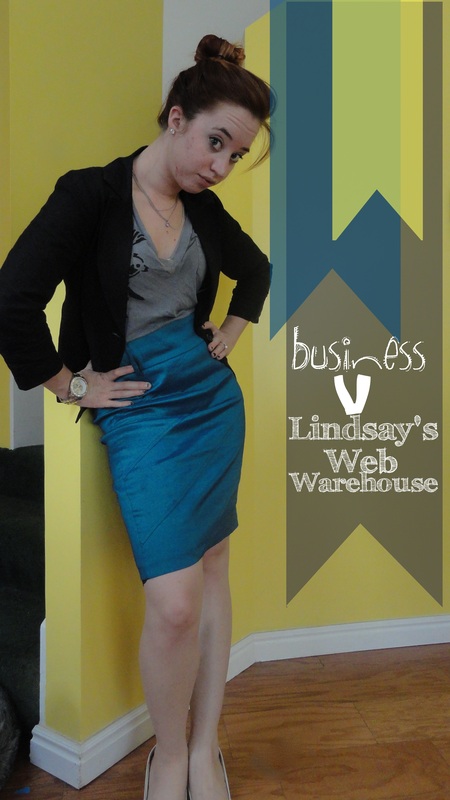
I got new mint nail polish. Yay!
Naturally I needed to plan an outfit entirely around the nails. It was actually pretty simple because all I did was keep everything else in neutrals.
I paired my sweet mint nails with a black blazer, grey trousers, lace top and "bling."
It came together really good, I wish that I had taken a picture before work when it was light instead of this grain-y one. Oh well! Its a definite repeat. I may even go wilder with the nails next time!
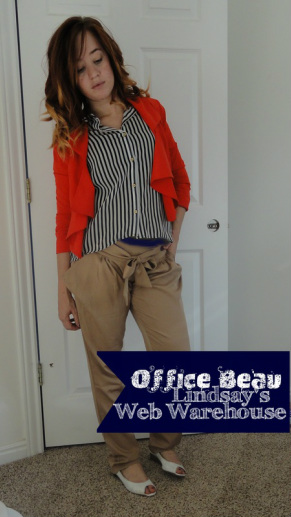
Sooo this picture isn't the greatest but you can get the basic idea...
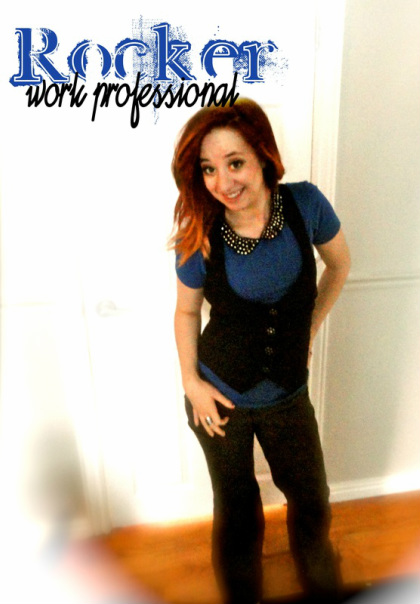
I bought this navy, black collared tee at Forever 21 for $12. It is so versatile because I can dress it down or up!
For work today I paired it with a black vest and dark grey trousers.
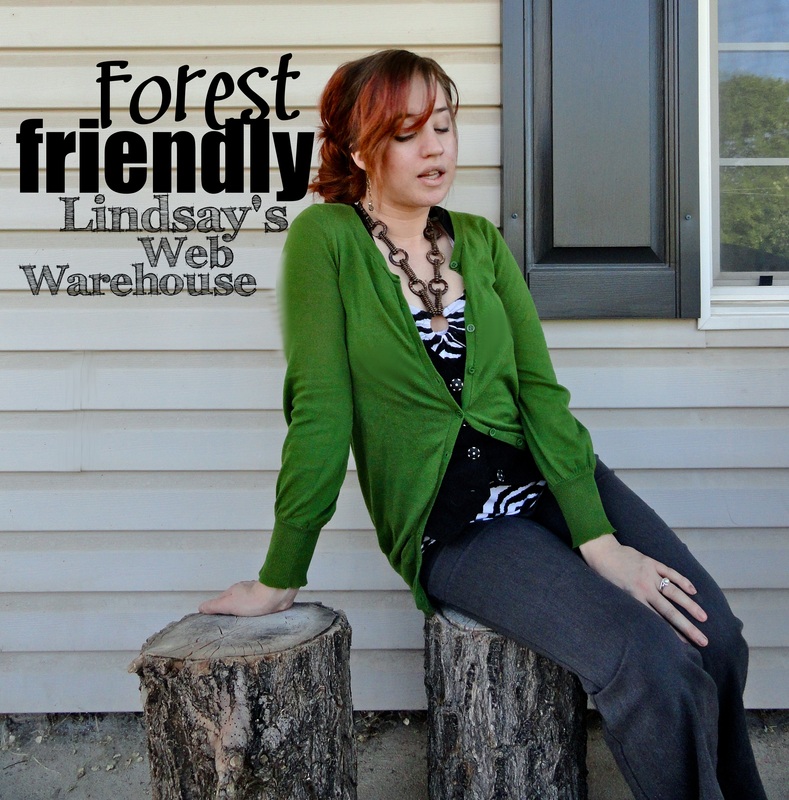
I was feeling "green" for work today. But seriously, I love green...and I love cardigans. I got this extra long one a couple years ago.
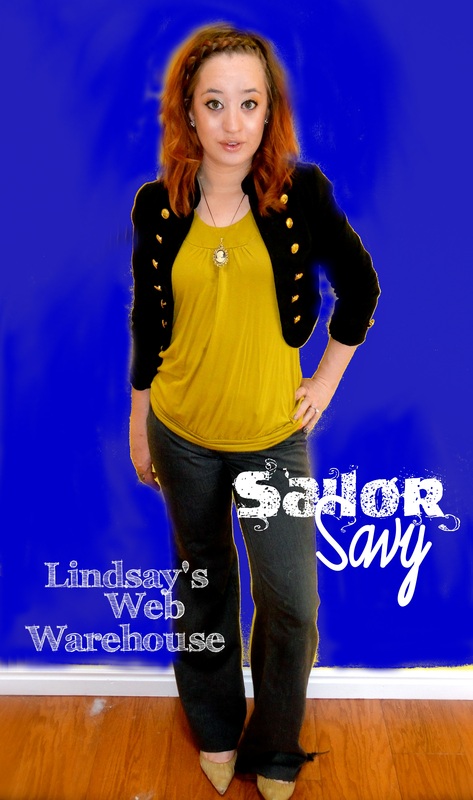
Today I paired it with my black vest, zebra halter and grey slacks.
I used gold tones for my eye shadow and similar bronzer on my cheeks.
For my hair I formed a low messy bum on the right side of my head. Whenever I have an updo I try to take advantage and wear dangly earrings! Today I wore my gold chain ones.
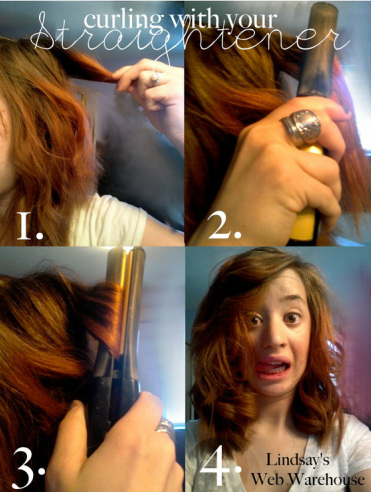
As promised, my "curling with your straightener" tutorial...
1. You'll want to use relatively small pieces of hair to allow the heat of the straightener work its way through.
Also if you feeling overwhelmed with hair everywhere, tie up the sections of your hair you are not currently working with. Much better, no?
2. Get your straightener on that baby, start as close to your scalp as your comfortable with. Don't burn yourself!
Again, little pieces at a time.
3. Turn your straightener to a bend & slowly pull away from your scalp to your tips.
4. Continue until you've got a luscious head of curls to your liking.
Notes: Depending on the angle you hold the straighter will depend on how loose/tight curls you have.
The angle I chose here gave me pretty loose curls [figure 4]
If you want really tight curls you will want you straightener to be parallel with the floor.
In the same respect if you want really loose beachy waves you will almost want your straightener vertical.
You can also choose to bend your straightener towards your mirror or away; This will determine the way your curl goes.
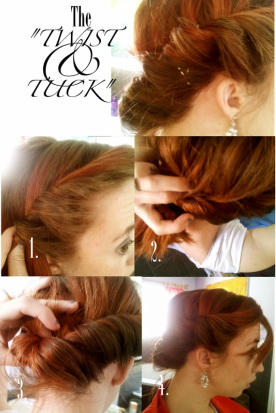
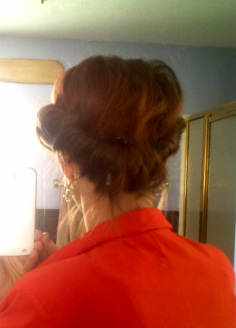
1. Start by creating a part at the top of your head; begin to twist, one side at a time, your hair up and under. See figure 1.
*When you get done with the first side you going to want to tie it tight with a ponytail until you get the other side done or it will just fall right out.
2. Gather your two twists into one low set ponytail. You may need to pull your "twist" a little tighter before you tie it off.
Next put a finger or two through the top of your pony, between your ponytail and your scalp making a hole. You will be pulling your left and right twist out a little to create this hole. See figure 2.
2. Flip your ponytail up and push through the whole you created. See figure 3.
Now bobby pin the crap out of that sucker!
I usually put a couple in my twists on both sides to keep them tight and where I want. I also throw a couple to secure my hair that a pushed through so that it doesn't come out during the day.
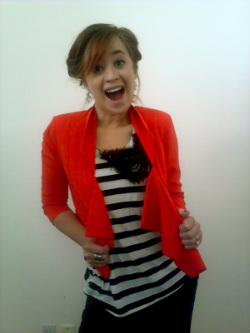
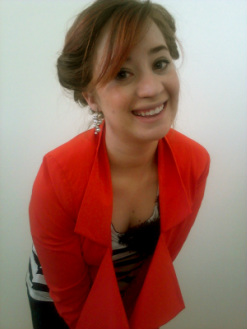
This is my "so excited for work face"
No really, I love my job. All sarcasm aside.
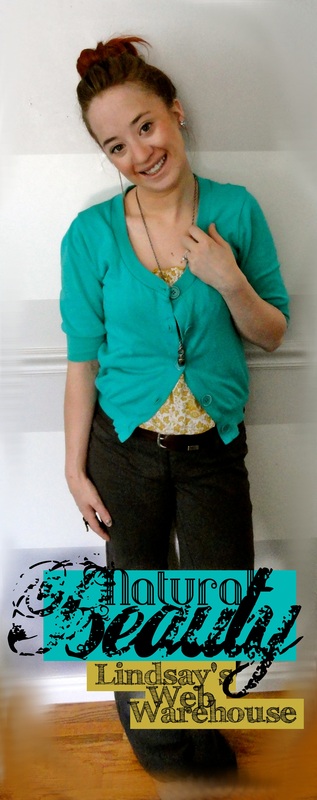
I bought this red-orange blazer at Forever 21 a couple of months ago. I don't remember the price but they are usually pretty reasonable ($20 range).
I paired it with this black and white striped shirt and black slacks. I love the shirt because it has a ribbon bow sew on.
I wore my pearl dangly earring [see below for close up] and simple makeup.
For my hair I did a "twist and tuck". No this is not the actual name but thats a good enough discription. Posting the tutorial shortly.
|
You can see my dangly earring a little bit better here.
They are basically chunky with different sizes of pearls that hang down about an inch.
My makeup is just foundation & light blush.
For the eyes I have a thin line of back eyeliner across my top lid and a thin line underneath, following my lower lashes, that goes from my outer corner to middle.
Black mascara to finish.
| |


 RSS Feed