Have you ever noticed how much cute crap there is for a nautical theme?
Me too.
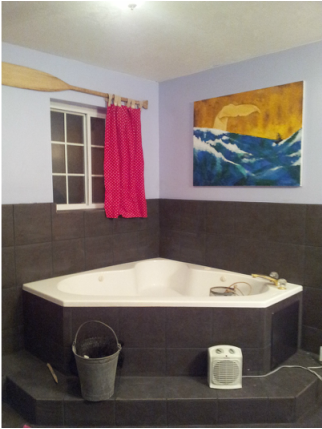
I decided that when Jake and I bought our home that I was going to do a "Nautical" themed bathroom. I'm still in the process but pretty far along so I thought I would share my progress.
First, I always like having something that I've created in a room; the "Lindsay" touch if you will.
And so was born...
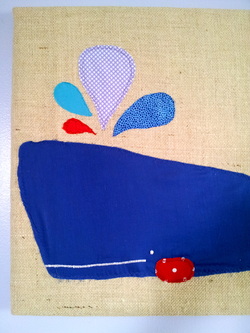
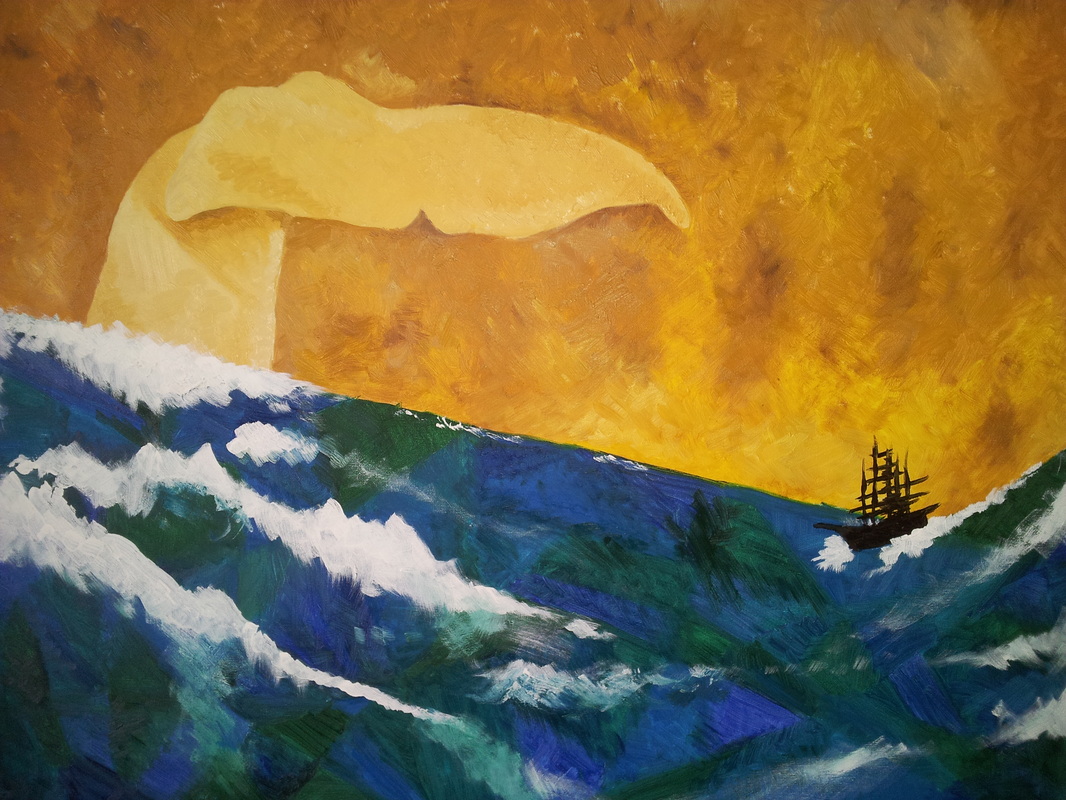
Wallace the Whale! [left]
I bought a 14x16 canvas ($16 for 2 pk) navy blue material ($2/yd) and burlap ($2/yd) from Walmart. I bought the red polka dot material at Hobby Lobby ($7ish for 2yds). The other scraps I got from my material scraps, Corina and from Walmart's scrap mark down pile.
First, I drew an outline of what I wanted Wallace's body to look like on moving paper. After some erasing, yelling and retracing I was able to cut it out. I pinned my diagram to my navy material and cut out the "body."
The "cheek" and "water drops" were really easy to cut free hand because they were so much smaller.
Once I had everything cut I pinned it all down, centered on my burlap. I proceeded to sew each piece on with matching thread. For Wallace's eye and mouth I set my sewing machine to a tighter stitch and chose a stark white thread.
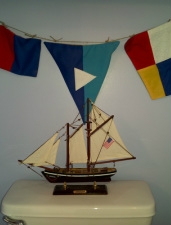
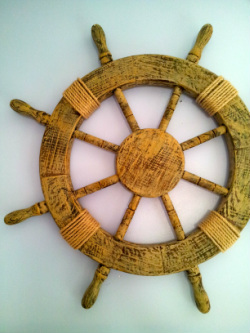
| Boat, $20 Amazon.
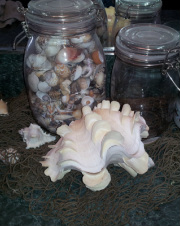
Flags, made by yours truly! | Hobby Lobby, Reg $20; Sale $12 | Jars, $8 & $5 Tai Pan Trading
Large Shell, from vacation to Cyprus, Greece. |
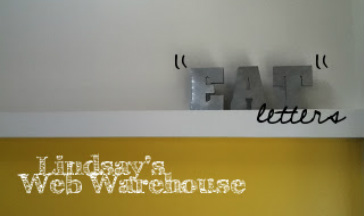
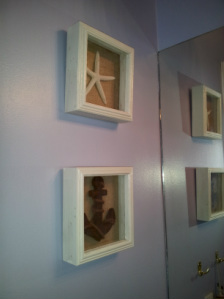
| I made the frames to the right with little effort!
Ready?
I bought the shadow boxes at Michaels for $7/each, the starfish $2 and anchor $5 from Hobby Lobby.
I used some extra burlap I had from Wallace the Whale to back the picture frames.
I attached the anchor and starfish with tacky glue and let them sit for about an hour or so 'til dry.
E-A-S-Y!
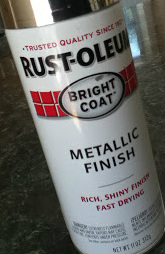
I painted my walls a lovely lavender color.
I get most of my paint from Walmart in Colorplace. Its about $20/gallon.
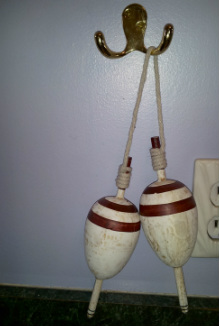
I found these cute bobbers [right] at Tai Pan Trading for $8.
| |
This is my first oil painting! So proud. I will say that the idea is not my own however...
I made a replica of a image I found on Pinterest that I fell in love with.
The original is a bit darker and set as a Portrait
I decided to make a Landscape...
well that is a little ironic...
landscape.
Get it?
Its the Ocean...
*Laughing at my own lame joke*
Ehem. Alright moving on.
| | Alright final creation for this post.
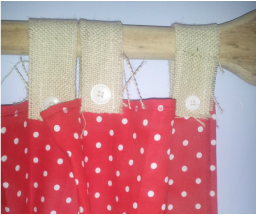
My "oar curtain." I'm going take a moment to be a little vain and say this is adorable.
I got the idea from...drum roll...you guessed it! Pinterest!
Once I get an idea I am obsessed.
Corina, my awesome Mother-in-law, upon hearing of my obsession (I couldn't stop talking about it!) found an oar at a flea market for $15.
Best. Find. Ever!
I decided to only make one panel. I used the red polka dot material from "Wallace the Whale". All I did was hem the sides.
I attached the panel to the oar using loops of burlap.
If you haven't noticed yet, I love that stuff!
I also sewed mismatched white buttons where the loops met the panel to look as though they were buttoned on.
I am terrible at button holes so I chose the cheater way out.
|
You'll soon find that I am a sucker for cheap finds.
AND that I love to try and make things myself or add my personal touch.
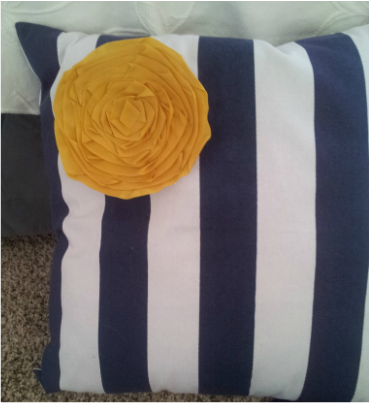
I am sad to say, I did not record making the above pillow flower while I was doing, it but I will share!
I bought the blue and white striped pillow on Amazon for $15 & with shipping it ended up being $20; not too bad for a pillow. You can find cheaper pillows at Ross, TJ Max etc but I had my eye on this thick striped style.
Pillows usually run $30-$80 bucks if your buying at RC Willey, Sears, Bed Bath & Beyond etc. Yikes!
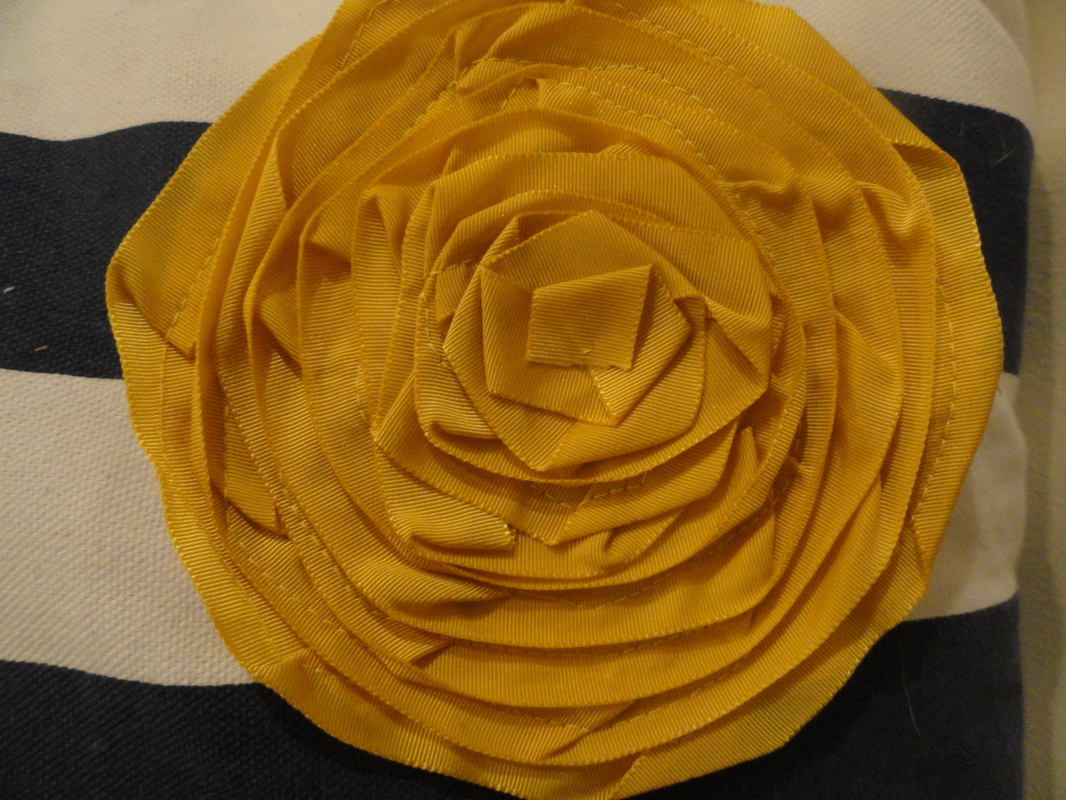
First off my inspiration for the room this goes in is Mustard Yellow, Grey, Navy & White. If you want the whole feel you can check out my pinterest board. Thats right. I said pinterest. I'm obsessed like everybody else.
Making the mustard flower was beyond simple!
Materials:
Ribbion
Thread
Canvas Material (enough to back your flower)
Sewing Machine
Material sissors
I chose a mustard color ribbon l liked at Walmart; Non-shinny about 1-1 1/2 thick. I also bought some yellow thread to match. All together my purchases were around $5.00-$10.00.
I used a scrap of canvas material for my backing; You don't need canvas but I recommend it for this project because it is a stiffer/sturdier material.
Ready, Set, Go!
1.Cut your canvas in a circle, just a little smaller than you want your flower to be.
2. Start sewing your ribbon down beginning at the edge of your circle, not the middle!
Sew around in a circle, gradually tapering inwards in a spiral.
Don't worry about the fact that your ribbon is bunching and overlapping.
If you look above at my flower the bunches and overlapping actually add to the cute-ness.
Messups = cute
BONUS!
To finish off your flower you can hand stitch the last overlap to minimize stitching in the center.
I stuck my flower to my pillow with Tacky Glue (Fabric glue would probably be better though)
And that. is. it. Bada bing bada bom!


 RSS Feed